Somebody’s getting married!
Well one thing is for sure.
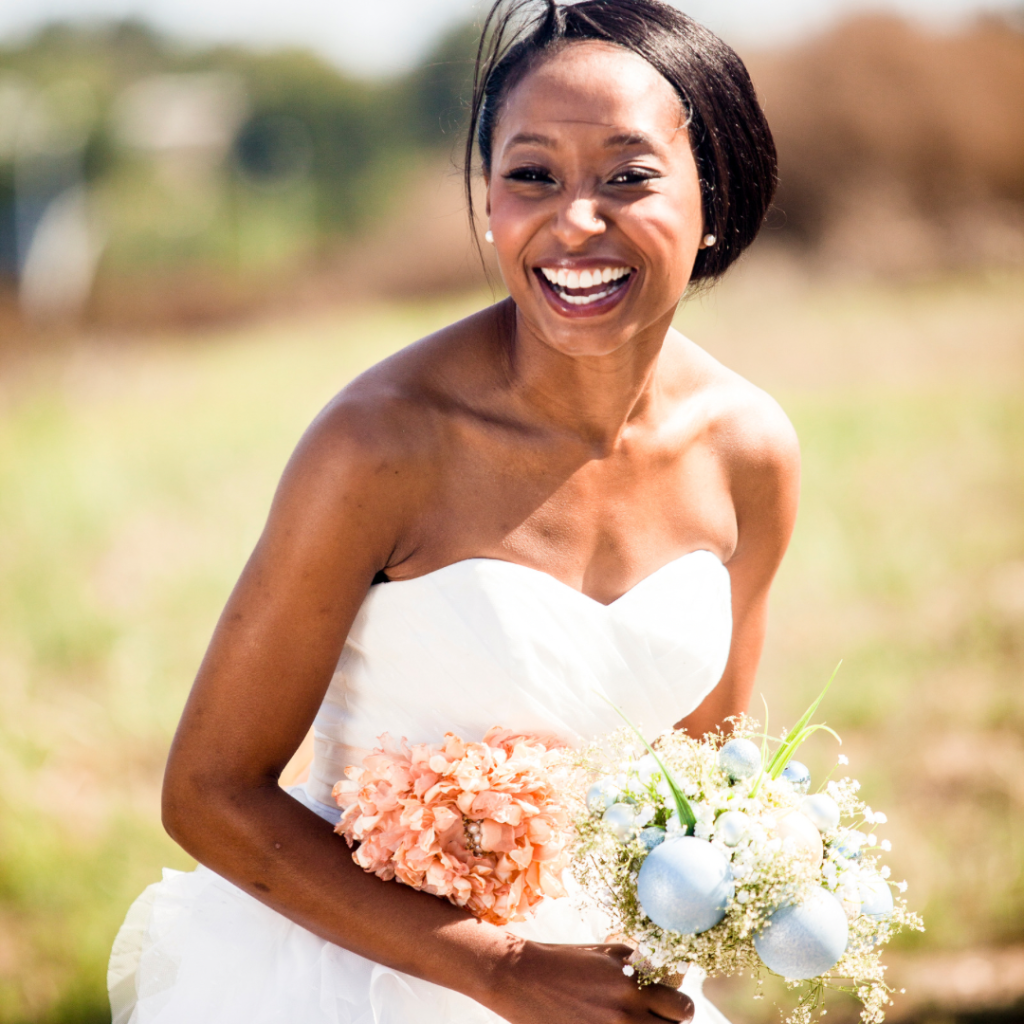
It’s the summertime and someone you know is probably going to be jumping the broom. Whether you’re the bride to be, a bridesmaid, or a special guest, you’ve got to be looking your best. Makeup and beauty captures the essence of that special day. Here are some ways you can achieve the perfect wedding look and make your makeup as memorable as the moment!
No Dilly Dallying
Prioritize skincare now! Start a consistent skincare routine so that you’ll have a healthy, glowing complexion on the bid day. If you cleanse, tone, moisturize, and exfoliate now, you’ll have a smooth canvas for your makeup application. Why not book a facial a few weeks before the wedding to rejuvenate and nourish your skin?
At First Sight
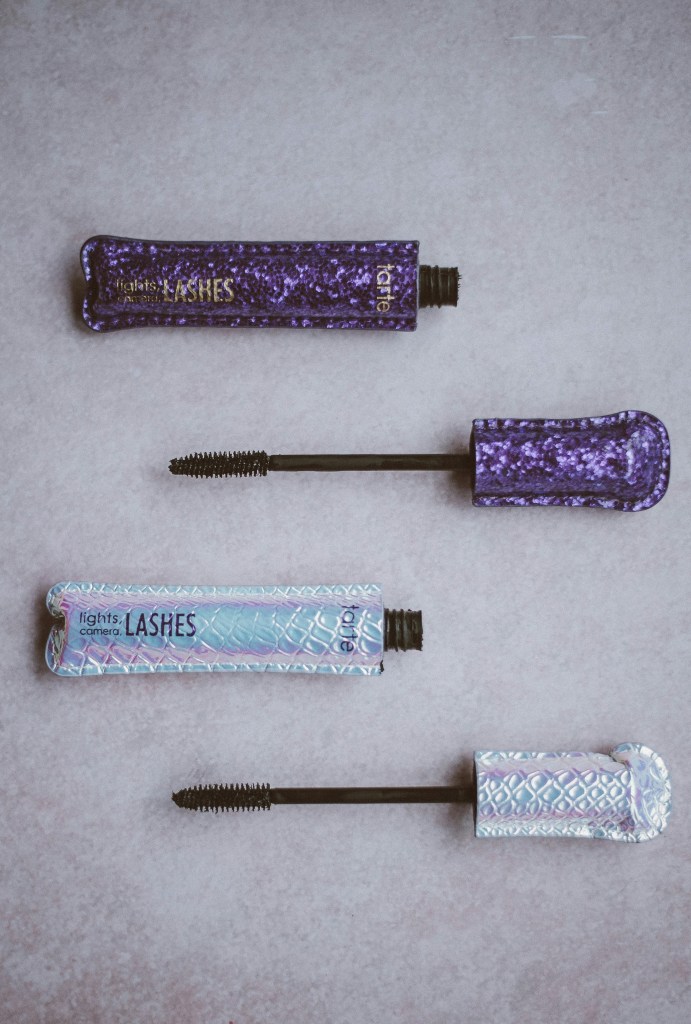
You’ve heard the saying – The eyes are the windows to the soul. On your wedding day, you’ll want them to sparkle and captivate. Define your brows using a brow pencil or powder that matches your hair color. Choose eyeshadows that match your wedding colors and theme. Soft, neutral tones are popular, but feel free to experiment with color. Make your look more dramatic with eyelashes or bold mascara!

Smooches
The perfect wedding day kiss is about more than lipstick (and if you’re not the bride you’ll still want to have soft, kissable lips). You can start by exfoliating your lips regularly with a lip scrub. Then hydrate them with lip balm like Dior Lip Glow or Glossier Balm Dotcom. Classic nude shades, romantic pinks, or bold reds can all create stunning looks.

Blush and Glow
The right blush can really put the icing on the cake. Take your wedding day look to another level with a sassy or natural shade that suits your skin tone. Highlighter can also make the moment magical. Add an ethereal glow to your cheekbones, brow bone, and cupid’s bow.
Practice Makes Pretty
Your wedding day is a time to celebrate love, joy, and the beginning of a new chapter. Don’t wait until the last minute to master your wedding day makeup look. Practice and practice again to make sure that you’re comfortable and confident. Try different products, techniques, and colors. And make sure you test the lighting to see how it’ll turn out on your pictures.
Prioritize skincare, try it on in advance, and choose products that will withstand the test of time and tears of happiness. With the right makeup you can create a lasting impression no matter who is walking down the aisle.